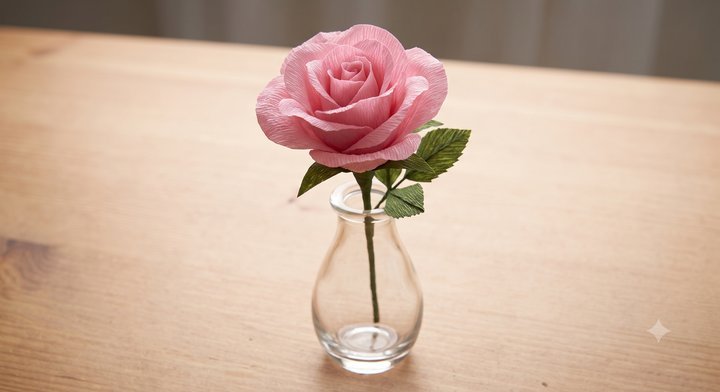
Here is a visual step-by-step guide showing you how to transform simple crepe paper into a beautiful, delicate rose.
Step 1: Gathering the Materials
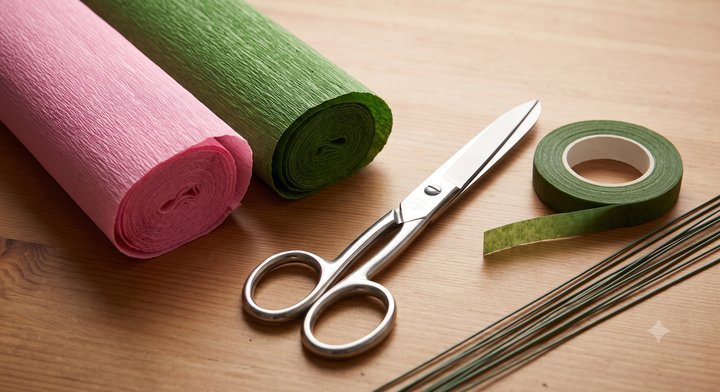
Before starting, collect all the necessary components. The foundation of this project requires specific materials: high-quality crepe paper (we are using pink for the bloom and green for the stem/leaves), sharp scissors, floral wire stems, and green floral tape. This initial setup ensures you have everything needed for a seamless crafting experience.
Step 2: Preparing the Petals
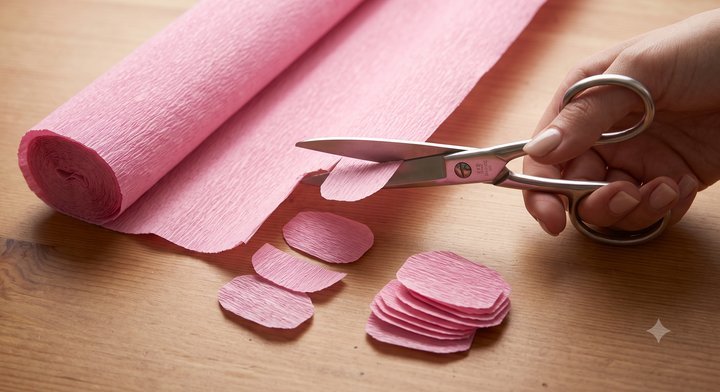
Once your materials are ready, the transformation begins. Taking the roll of pink crepe paper, we must prepare the individual petals. Using the sharp scissors seen in the previous step, cut a strip of the paper (about 3 inches wide). Then, cut this strip into smaller, rounded rectangular shapes. These uniform pieces, shown forming a small pile on the wooden table, will soon become the layered petals of your rose. Note how the unique texture of the crepe paper is preserved during cutting.
Step 3: Assembling the Bloom
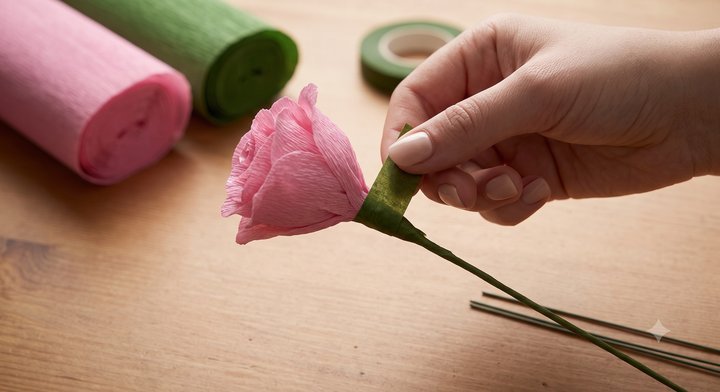
Now comes the crucial assembly phase. We take the components established in the first two steps: the green floral wire (from the kit) and the pile of cut pink petals. A hand meticulously takes a wire stem and begins attaching the petals. Starting with a single petal, wrap its base tightly around the tip of the wire. Crucially, secure the base immediately using the green floral tape (from the kit). Continue this process, adding petals one by one, overlapping them slightly to build a realistic, layered rose structure.
Step 4: The Finished Flower
The assembly is complete, and the meticulous wrapping has resulted in a beautiful handcrafted bloom. This final image shows the completed pink crepe paper rose standing upright in a simple, clear glass bud vase. The soft directional light highlights the delicate, lifelike folds and texture of the layered paper petals. You can also see that a few green crepe paper leaves have been added to the wrapped stem (using the green paper from the initial kit), finalizing the elegant and realistic presentation.