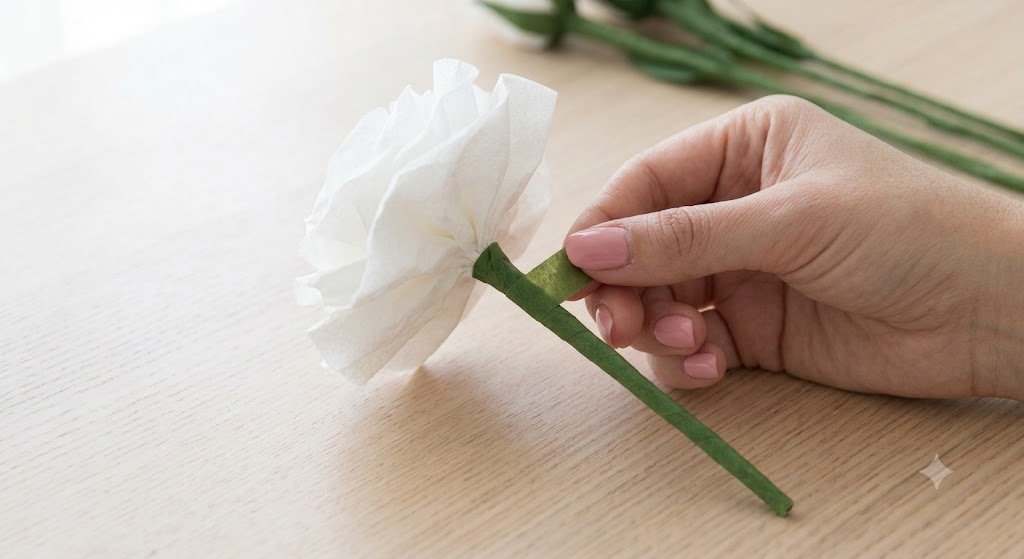
Making a beautiful rose from standard facial tissues is a simple and rewarding craft. This visual guide will walk you through the four key stages.
Step 1: Preparing the Materials and Initial Fold
The first step is gathering your supplies and establishing the foundation. You need standard, plain white facial tissues, soft wire (like florist wire), and green floral tape.
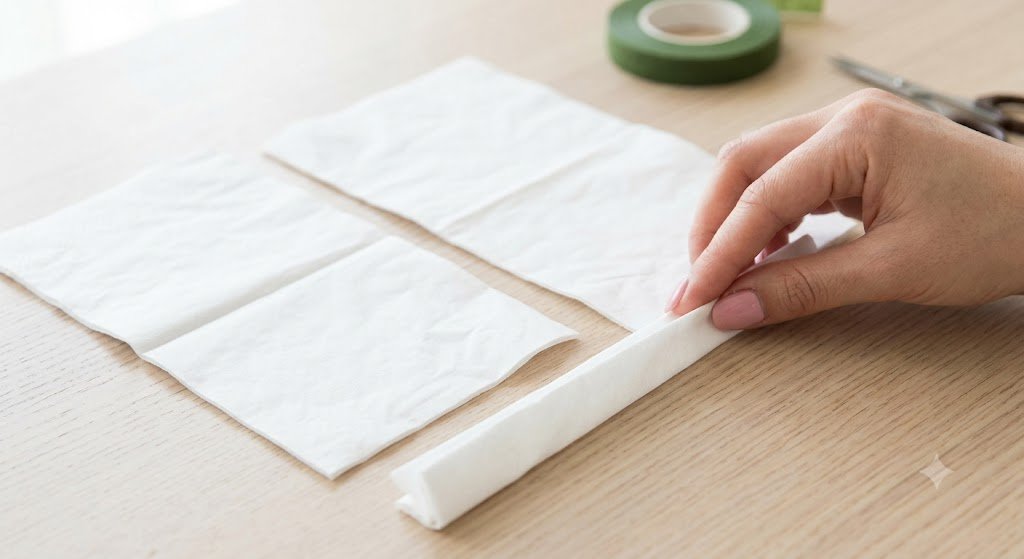
In this first image, we see the clean, sunlit workspace on a light wood table. One tissue is laid flat. The hand (note the soft pink manicure, which we will follow through the process) begins the process. The tissue is accordion-folded—like making a paper fan—into a thin strip about one inch wide. This accordion fold is crucial for creating the petal layers later.
Step 2: Securing the Center
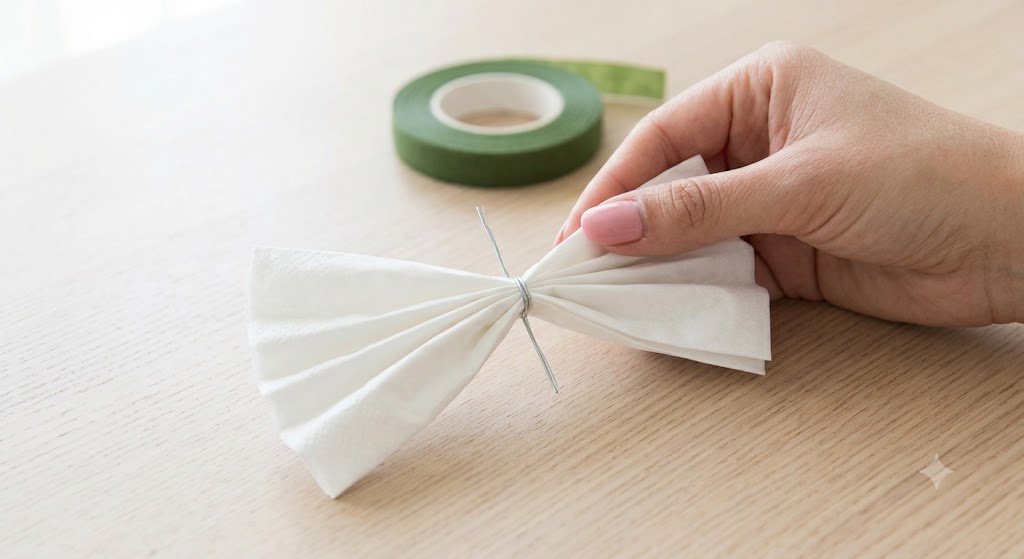
Once your entire tissue (or two, for a fuller rose) is folded into that single, long accordion strip seen in Step 1, it’s time to secure the core.
As shown in the second image, the hand now holds the completed accordion strip. A short length of thin silver florist wire is wrapped tightly around the exact center of the folded bundle. The ends of the tissue strip now flare out, slightly resembling a bow-tie. This wire cinch is the heart of the rose, holding all the potential petals in place. Note that the light wood surface and natural light established in the first scene are maintained.
Step 3: Forming and Fluffing the Petals
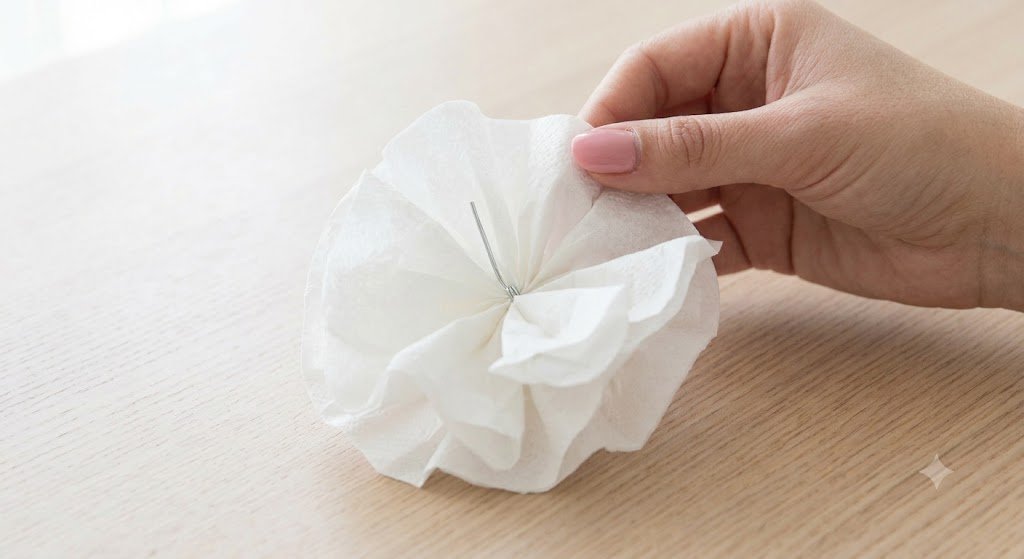
This is the most transformative step. We take the wired ‘bow-tie’ structure from Step 2 and gently turn it into a flower.
In the third image, we see the back of the structure. The hand, keeping that consistent appearance, is now carefully separating the individual, delicate layers of the folded tissue. The layers are gently pulled upward and inward, moving towards the wire center. This delicate crinkling and lifting action transforms the flat folds into a voluminous, rounded, and wonderfully texture-rich bud. The consistent soft lighting highlights the delicate nature of the separating tissue layers.
Step 4: Stemming and Finishing the Rose
The final image shows how to turn that delicate tissue head into a durable, finished flower. We are working with the fully fluffed rose head created in Step 3.
To finalize the rose, the hand holds the finished, voluminous tissue head. The green floral tape (seen earlier in the background) is now activated. It is wrapped tightly around the base of the tissue bud—creating a neat green calyx—and then continues down the length of the silver wire stem (from Step 2). The tape is stretched slightly as it is wrapped, which makes it stick to itself, concealing the wire completely. The focus is sharp on this wrapping action, resulting in a smooth, professional-looking green stem. The project is complete.