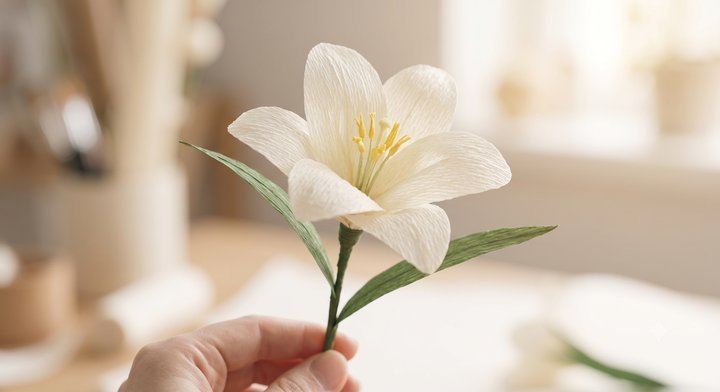
Making a beautiful crepe paper lily is a rewarding project. Here is a step-by-step visual guide demonstrating how the flower comes together, moving from raw materials to the finished bloom.
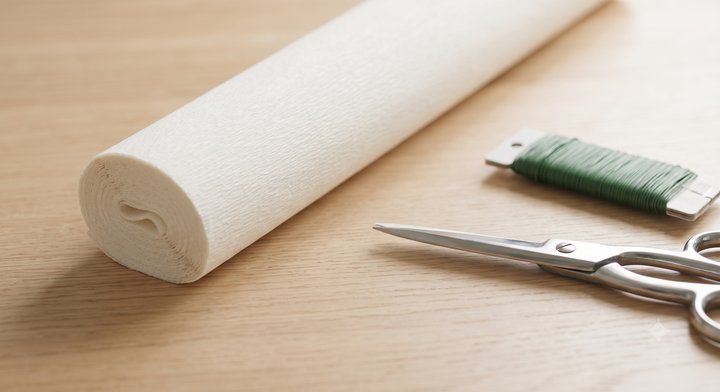
Step 1: Gathering the Materials
Before you begin, you must collect the specific items needed for the project. Since crepe paper is delicate, sharp tools and soft lighting make the process easier.
Description: A close-up photograph displays the raw starting materials on a clean, light oak wood crafting table. The scene is bathed in soft, diffused natural daylight. The main subjects are:
- A roll of pristine, cream-white crepe paper (showing its fine grain texture).
- A pair of sharp steel crafting scissors.
- A spool of slender green floral wire.
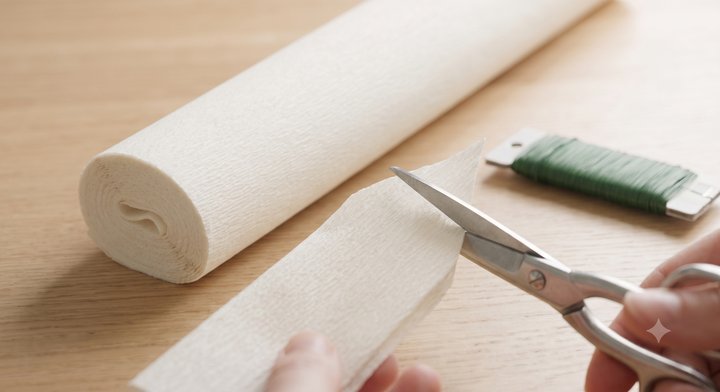
Step 2: Cutting the Petal Template
The key to a realistic lily is the shape of the petals. Unlike simpler flowers, lily petals require a precise, elongated ‘S’ curve.
Description: Maintaining the soft natural daylight and oak table background from the previous image, this shot focuses on the action of cutting. Hands manipulate the sharp scissors from Step 1 to carefully cut a specific, elongated, pointed ‘S’ curve petal shape. The crepe paper is folded, allowing multiple petals to be cut simultaneously. The remaining paper roll and wire spool are visible but blurred in the background, maintaining visual continuity.
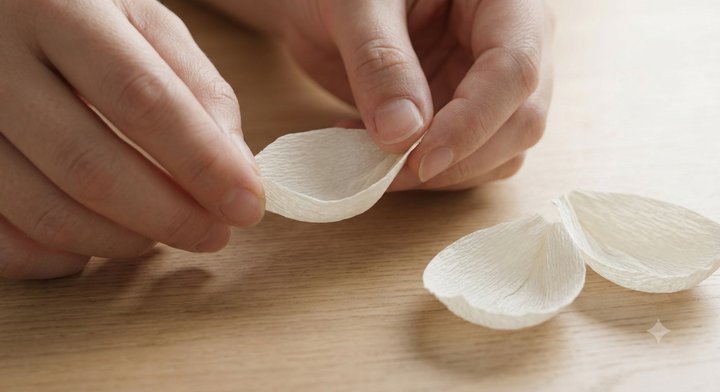
Step 3: Shaping and Cupping the Petals
Crepe paper’s unique property is its ability to stretch. You must shape the flat cutouts to give them the volume and curve of a real lily petal.
Description: This close-up view demonstrates the vital shaping process. Hands gently manipulate the cut cream-white petals seen in Step 2. Using thumbs and forefingers, the crafter stretches the center of a single petal. This stretching creates a realistic, cupped, boat-like curve. The lighting highlights the delicate, newly stretched texture of the paper grain. Several finished, dimensionally curved petals rest on the light oak table nearby.
Step 4: Assembling the Center and Stem
Now that the components are ready, the flower is built from the center outwards, attaching the petals to the stem structure established in Step 1.
Description: This macro photograph (taken under the same consistent daylight on the oak table) shows the assembly. Hands use fine green floral tape (matching the wire from Step 1) to tightly bind the base of three previously shaped, cupped petals (from Step 3). They are being attached around a bundle of yellow-tipped stamen (made from fringed crepe paper) onto the end of the green floral wire stem. The stretching tape holds the structure securely as the lily cup starts to form.
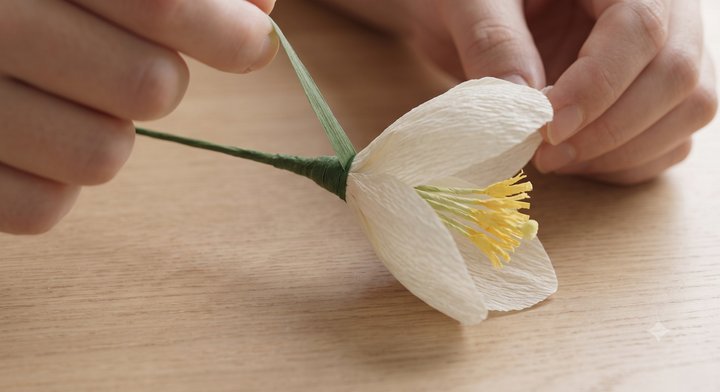
Step 5: The Finished Crepe Paper Lily
The final petals are added (usually six in total for a classic lily), and the stem is finished with leaves. The resulting flower is delicate and realistic.
Description: The final image is a beautifully composed, soft-focus portrait of a single, completed cream-white crepe paper lily. It uses the materials (Step 1) and shapes (Steps 2 & 3) defined previously. The six petals are perfectly formed, cupped, and arranged around the delicate yellow stamen (Step 4). The green stem is fully wrapped and features two long, slender green leaves. The finished flower is held gently against a blurred, warm, sunlit creative studio background, completing the visual journey.